From 3D scanner to VR -- Introduction
Disclaimer: This content reflects my personal opinions, not those of any organizations I am or have been affiliated with. Code samples are provided for illustration purposes only, use with caution and test thoroughly before deployment.
Recently I’ve been invoved in a project called FoxEye. Our goal is to unleash the power of Computer Vision (CV) on the Web. But before we jump in and start writing JavaScript, I need to understand how all the algorithm works. Therefore I started to hack a simple small object scanner using the Point Cloud Library (PCL), which is written in C++.

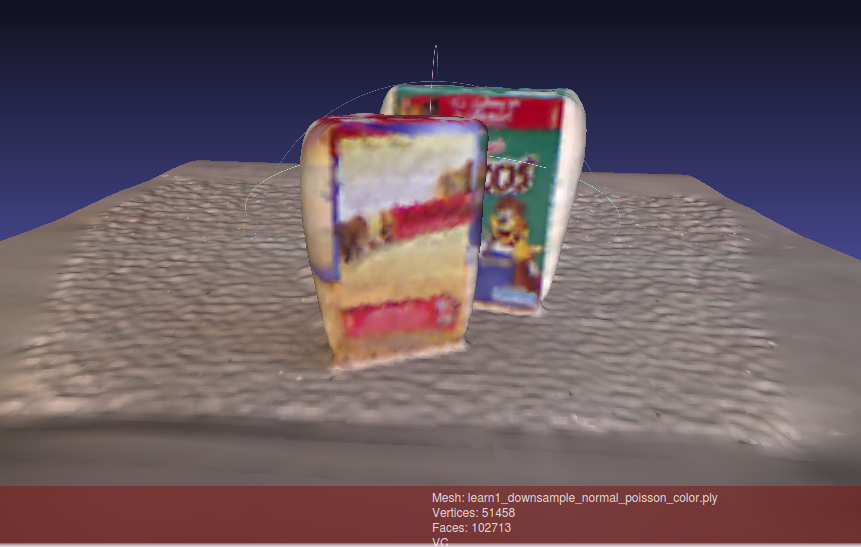
Problem Statement
Imagine I am trying to sell a Star Trek action figure on the Internet. To let my potential buyer far far away examine the action figure before they pay, I can use my depth camera to scan the action figure. Using our magical program (will eventually run on the Web), we can create a virtual 3D model and send it to our buyer. The buyer can use her WebVR-compatiable headset to see it in the virtual world. Our goal is to understand how to program the depth camera to VR pipeline.
System Architecture
Since I’m not an expert in CV, it took me quite a while to figure out this pipeline. I’ll give you a 10000-foot view of the architecture:
- Getting (colored) point cloud from a depth camera
- Create a (uncolored) 3D mesh from the point cloud
- Transfer the color to the 3D mesh
- Display it in VR (Virtual Reality)
Let dig in deeper into each step:
Getting (colored) point cloud from a depth camera
I borrowed a Intel RealSense F200 camera from my project memeber. The camera can produce color picture/stream and a depth picture/stream. The camera will project a non-visiable IR pattern onto the environment, and an IR camera will capture the displacement of the pattern to caluculate the depth. I’m still figuring out how to do this step, so stay tuned. Usually you need to take multiple pictures from different angles to recreate the whole object you’re scanning. So you might need to “stitch” the pictures together (“Registration” in CV terminology) to create a complete point cloud. The result is a point cloud, a lot of points in space that represents the object’s shape and color.
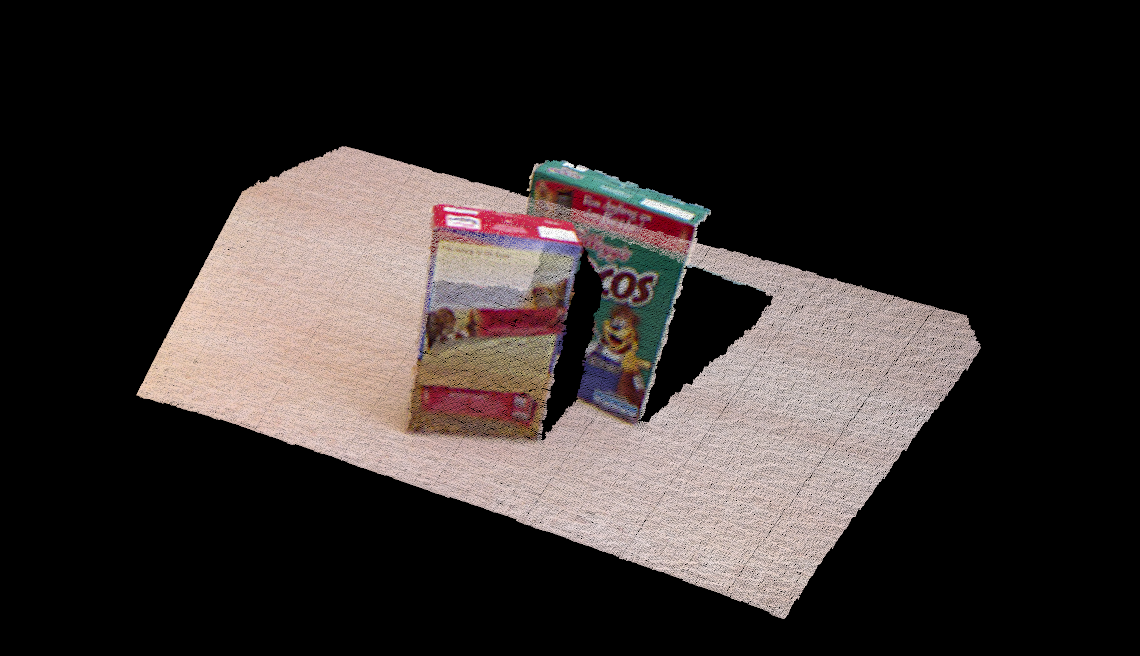
Create a (uncolored) 3D mesh from the point cloud
Most VR or 3D printing applications requires the model to be a mesh, which is a bunch of small triagular surfaces connected together. So we need to create a smooth mesh surface from the discrete points. This step is actually a complex topic that deserve its own section. We can further split it into some sub-steps:
1.Normal Estimation
Many surface reconstruction algorithm requires you to compute vertex (point) normals first. Normals can help the algorithm estimate how the surface looks like. Make sure the normal points to the right direction (outward) otherwise you might have a model that is colored from the inside when you try to render colors in the following steps.
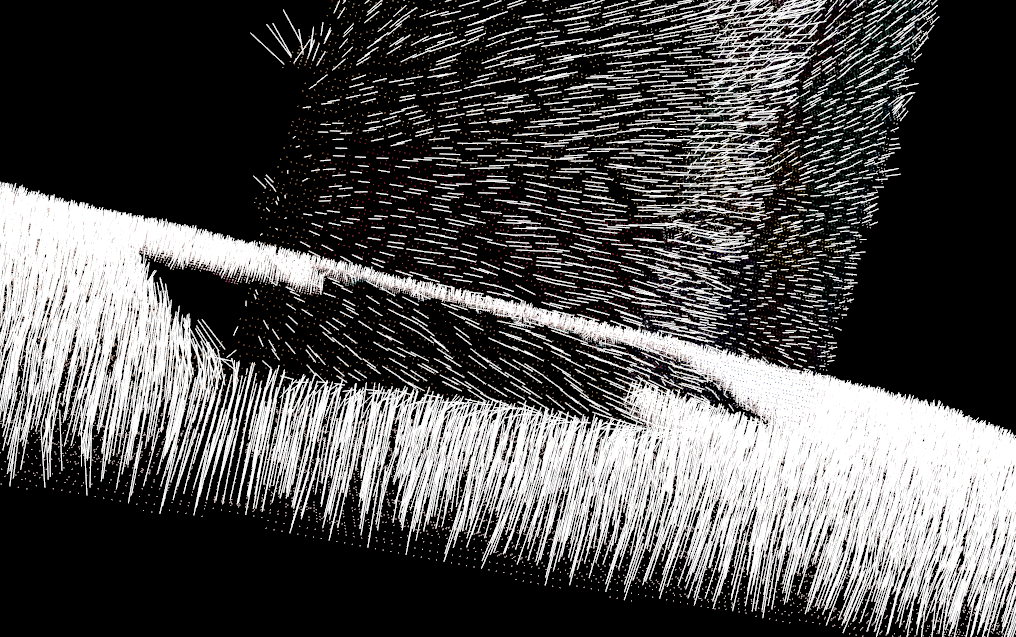
2.Surface reconstruction
With the points and normals in place, we can use some algorithm to reconstruct the surface mesh. There are quite a few algorithms out there, for example Poission reconstruction or Marching Cube reconstruction. Based on their design, each one of them may be suitable for different kind of object shape.
3.Smoothing, Remeshing, etc.
The mesh generated by algorithms may not be very smooth, or will have uneven triangle size (too dense on unimportant part, too loose on important part). We can use some smoothing and remeshing algorithm part to make the mesh looks nicer and use the storage more efficiently.
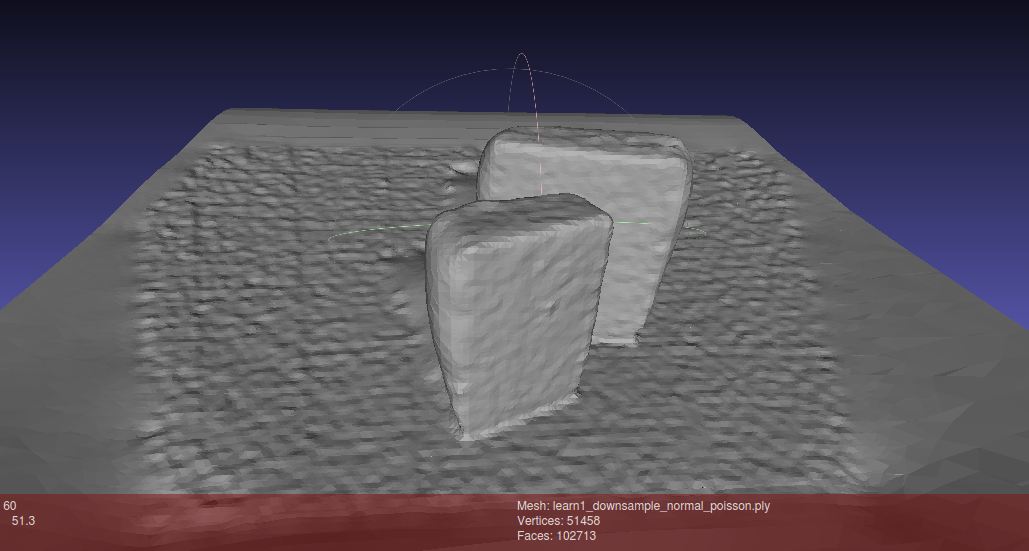
Transfer the color to the 3D mesh
Most surface reconstruction algorithm don’t handle color, so the mesh from the pervious step will have no color information. To put the color back to the model, we can use the original point cloud and transfer the colors to the mesh. There are two ways of doing this: transfer the color to the verteces (the end point of the triangles) and let the vertex shader interpolate the colors for us; or we can generate a texture map (a image file) and the UV mapping so the texture image can be “wrapped” onto the mesh. Most 3D and VR applications uses the latter approach. We’ll cover them in the following posts.

Display it in VR (Virtual Reality)
Once the mesh is ready, this step is pretty straight forward. We’ll use Mozilla’s A-Frame framework to load a obj format mesh and display it in our VR headset.

Conclusion
In this post, we went through the basic steps required to create a 3D scanner to VR pipeline, we’ll go into more details in the posts to come.
