Building a DIY Document Scanner with a Cardboard Box
Disclaimer: This content reflects my personal opinions, not those of any organizations I am or have been affiliated with. Code samples are provided for illustration purposes only, use with caution and test thoroughly before deployment.
I wanted a quick way to scan paper documents with my phone, but I kept getting harsh shadows on the page. The scanner app could detect edges, but the image quality was inconsistent because my hand, phone, and room light all affected the result.
So I made a simple document scanner box from cardboard. It is cheap, simple, and works surprisingly well.
The main challenge with phone scanning
In my setup, the hardest part is not the app. It is lighting. When I hold the phone above the paper, I often block part of the light source, and that creates a dark area on one side of the document.
What I built and why it helps
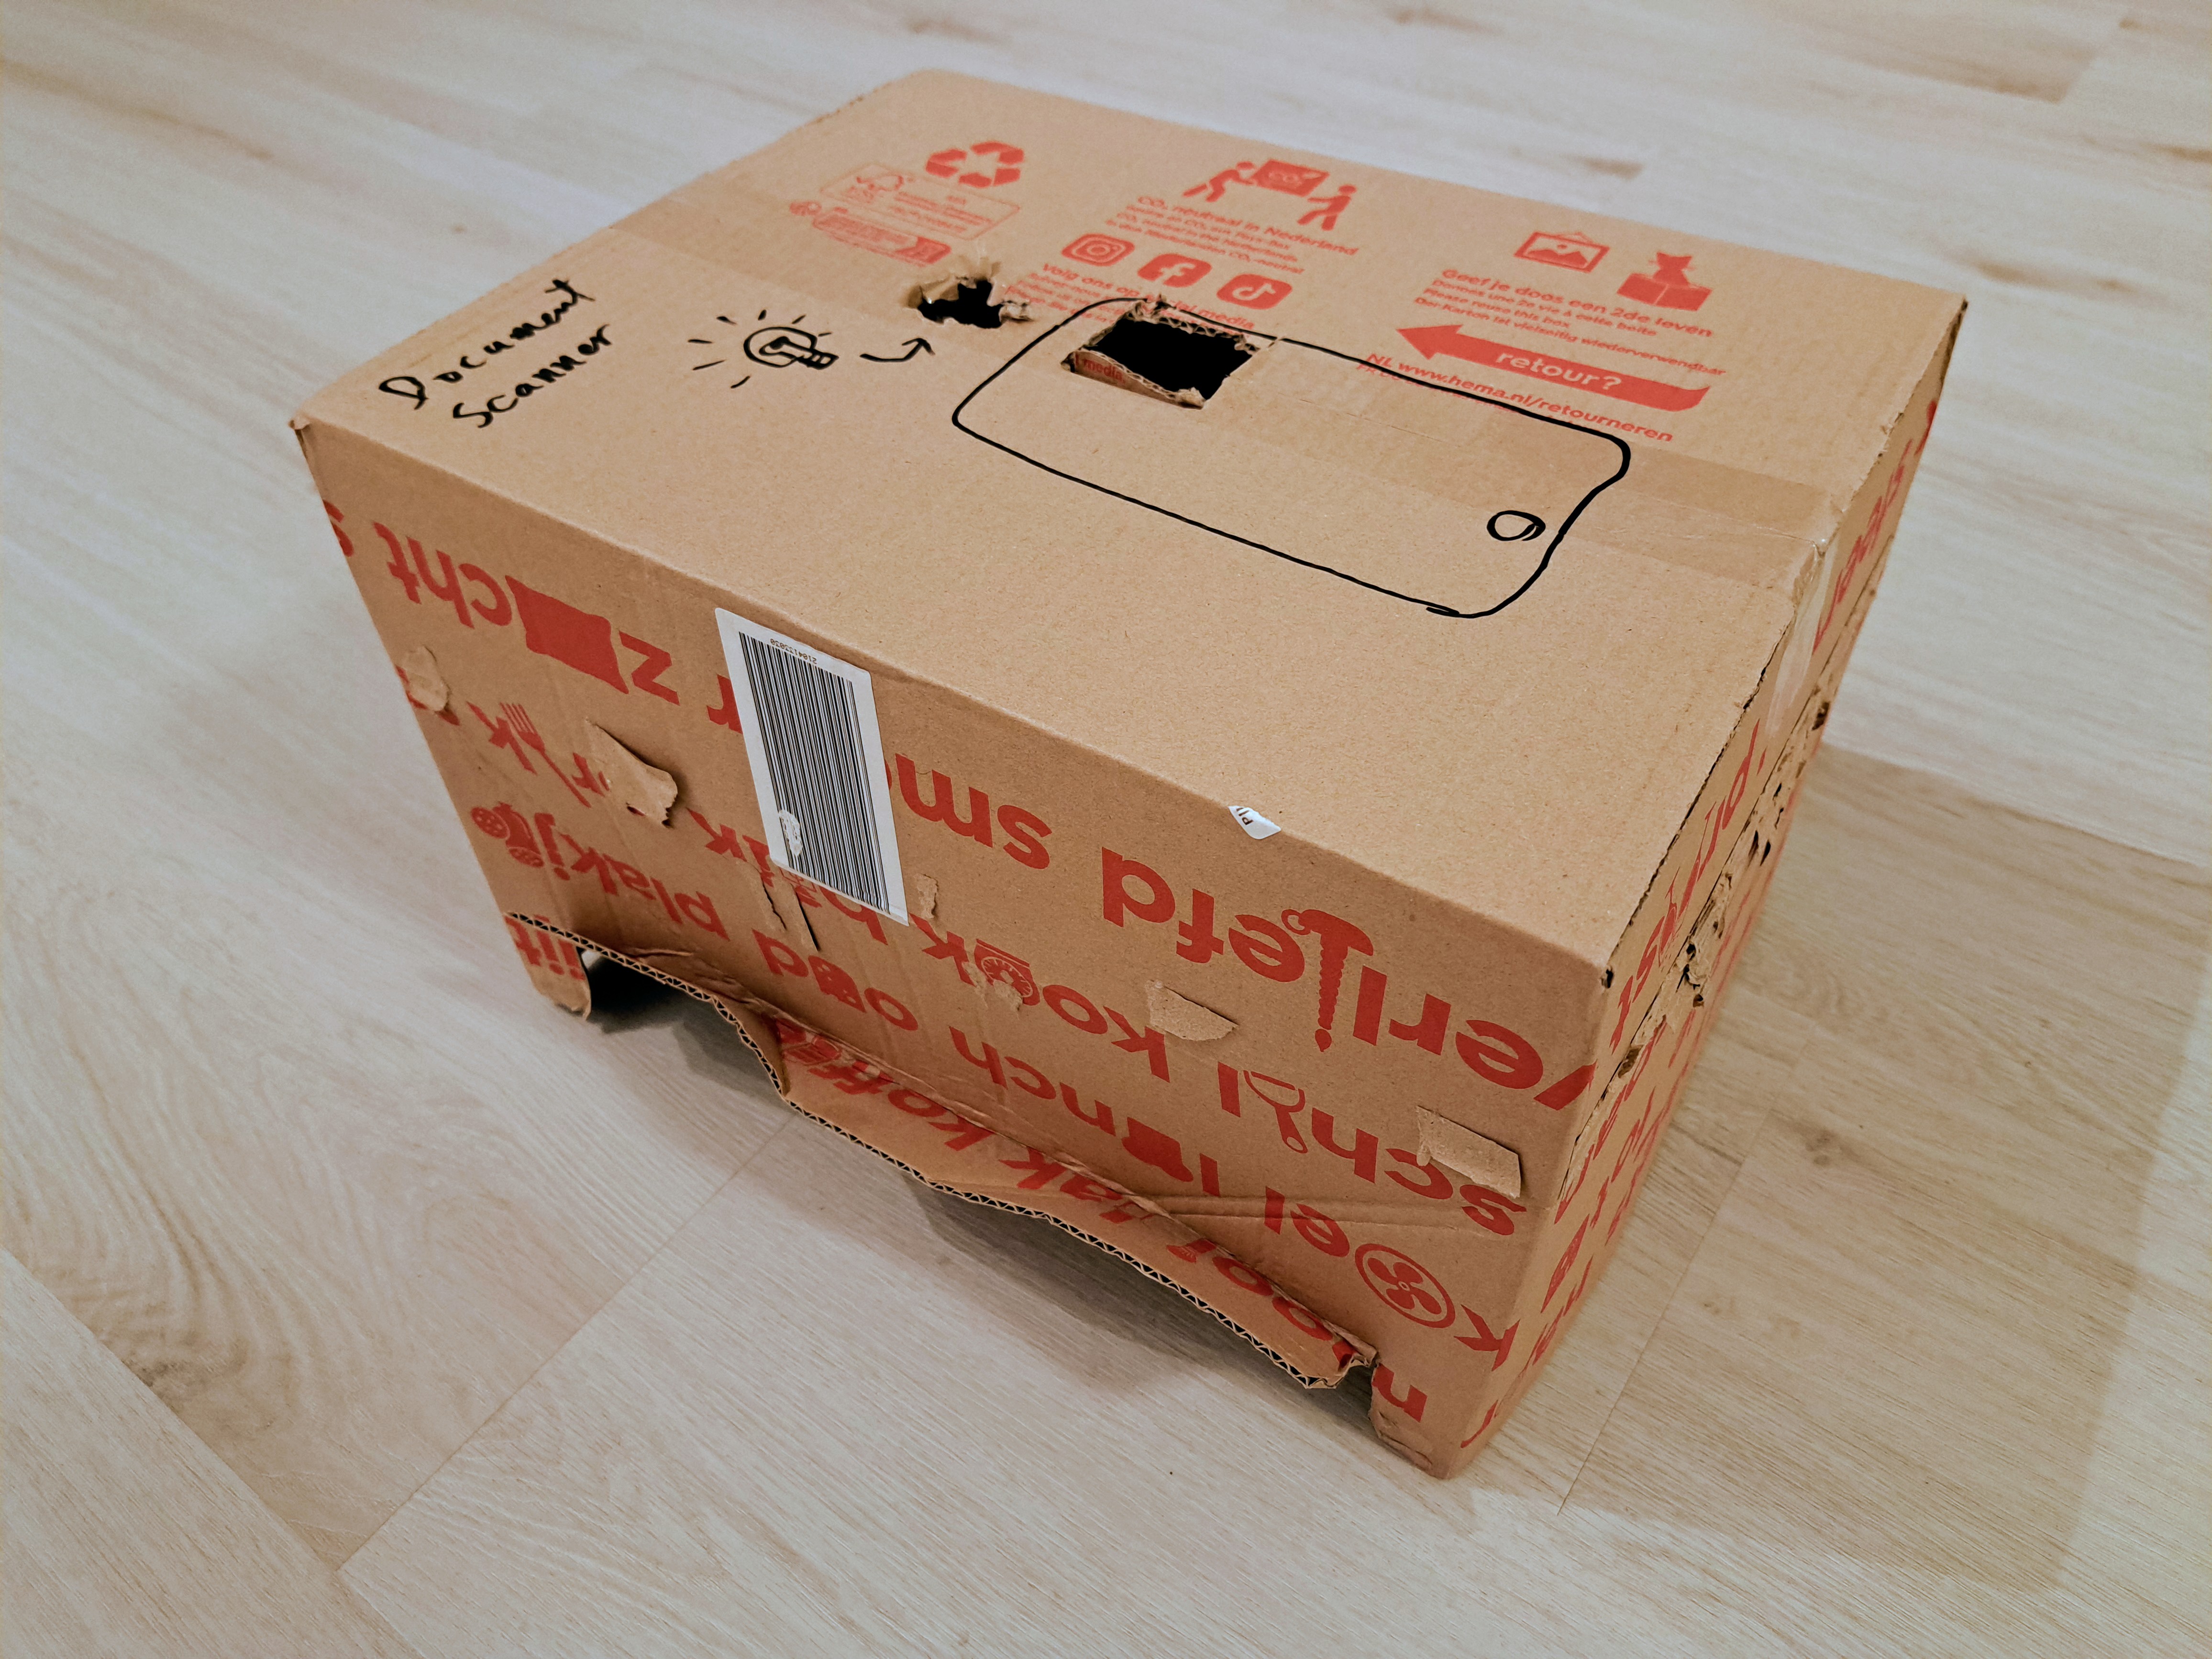
I cut a cardboard box and turned it into a fixed scanner box. The design goals were practical:
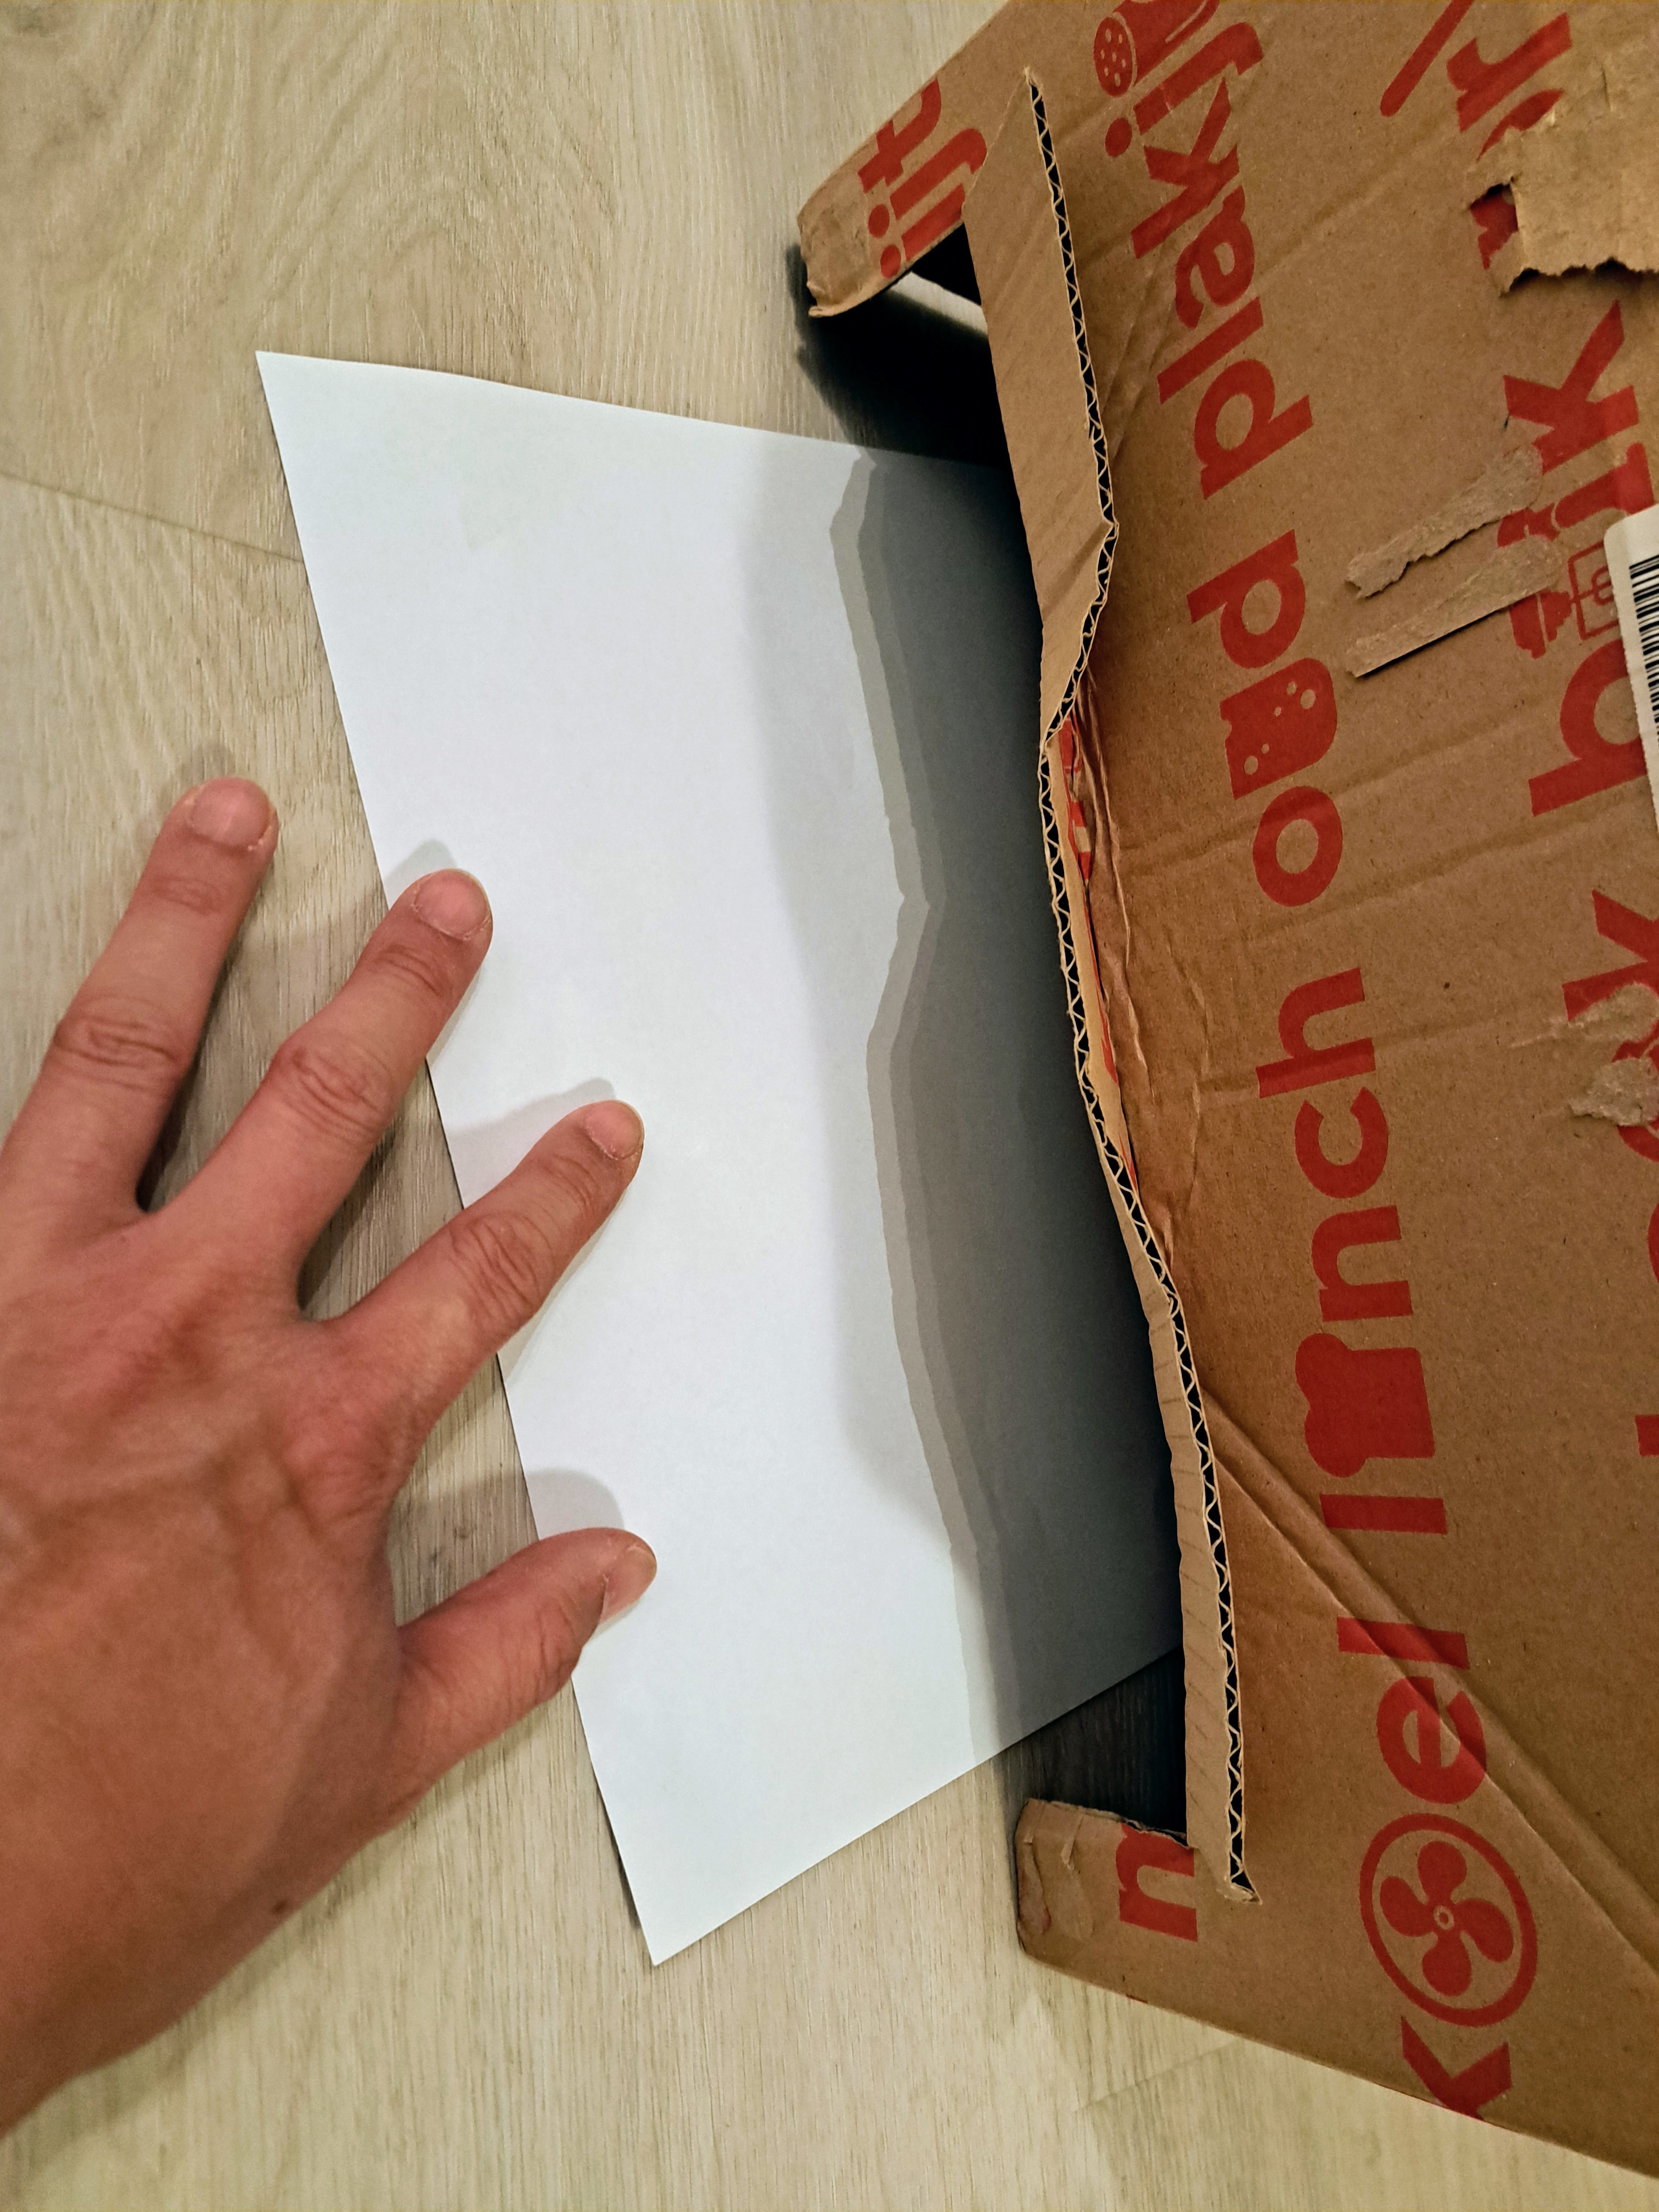
- Side opening to swap documents quickly (no need to move the phone every time)
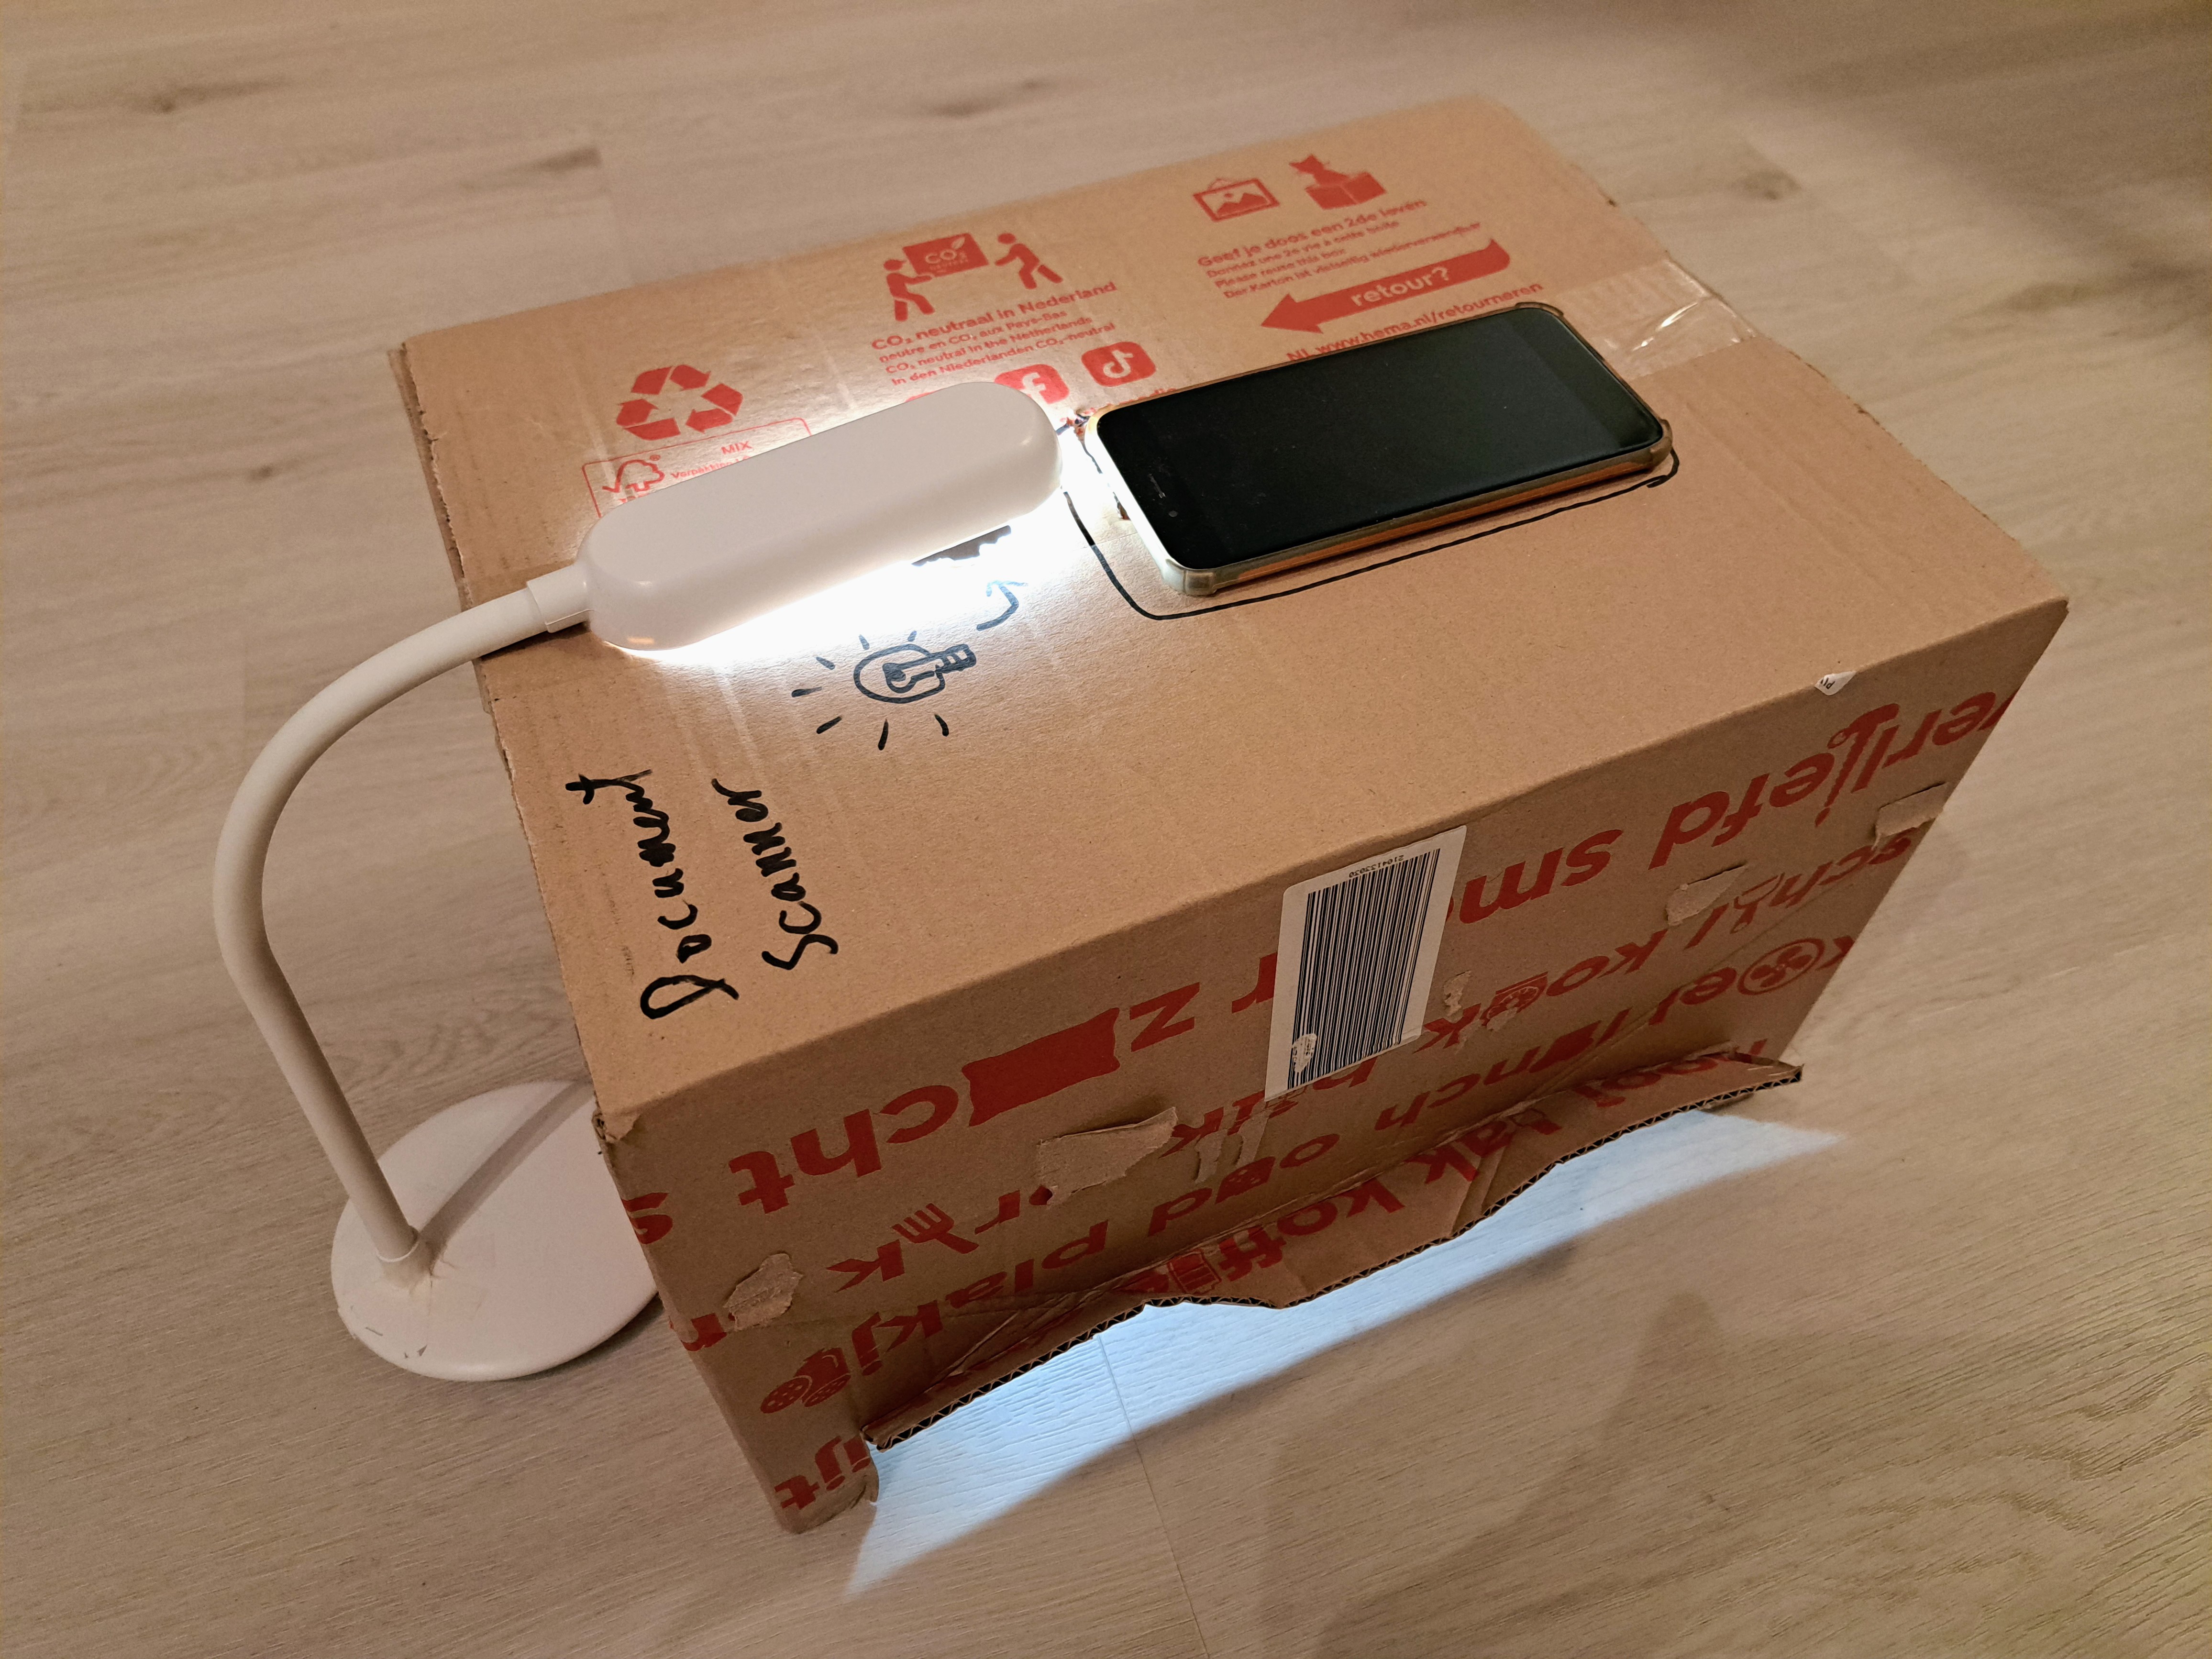
- Stable phone position on top of the box (consistent framing and focus)
- A lighting hole to point a flashlight into the box
- Low cost using materials I already had at home
Current problem with the setup
It is better than handheld scanning, but the light is still uneven. The hotspot from a single flashlight creates a bright center and darker edges, so white paper does not look evenly lit.

Improvements I have tried
To fix the uneven lighting, I tested two approaches:
- Use a brighter flashlight and bounce/flood more light into the box.
- Add a USB LED strip around the inner side of the box, powered by a power bank, to distribute light more evenly.
The LED strip option is more consistent for repeated scans, but the wiring is more cumbersome and makes the thing less portable. The flashlight option is the quickest upgrade.
Conclusion
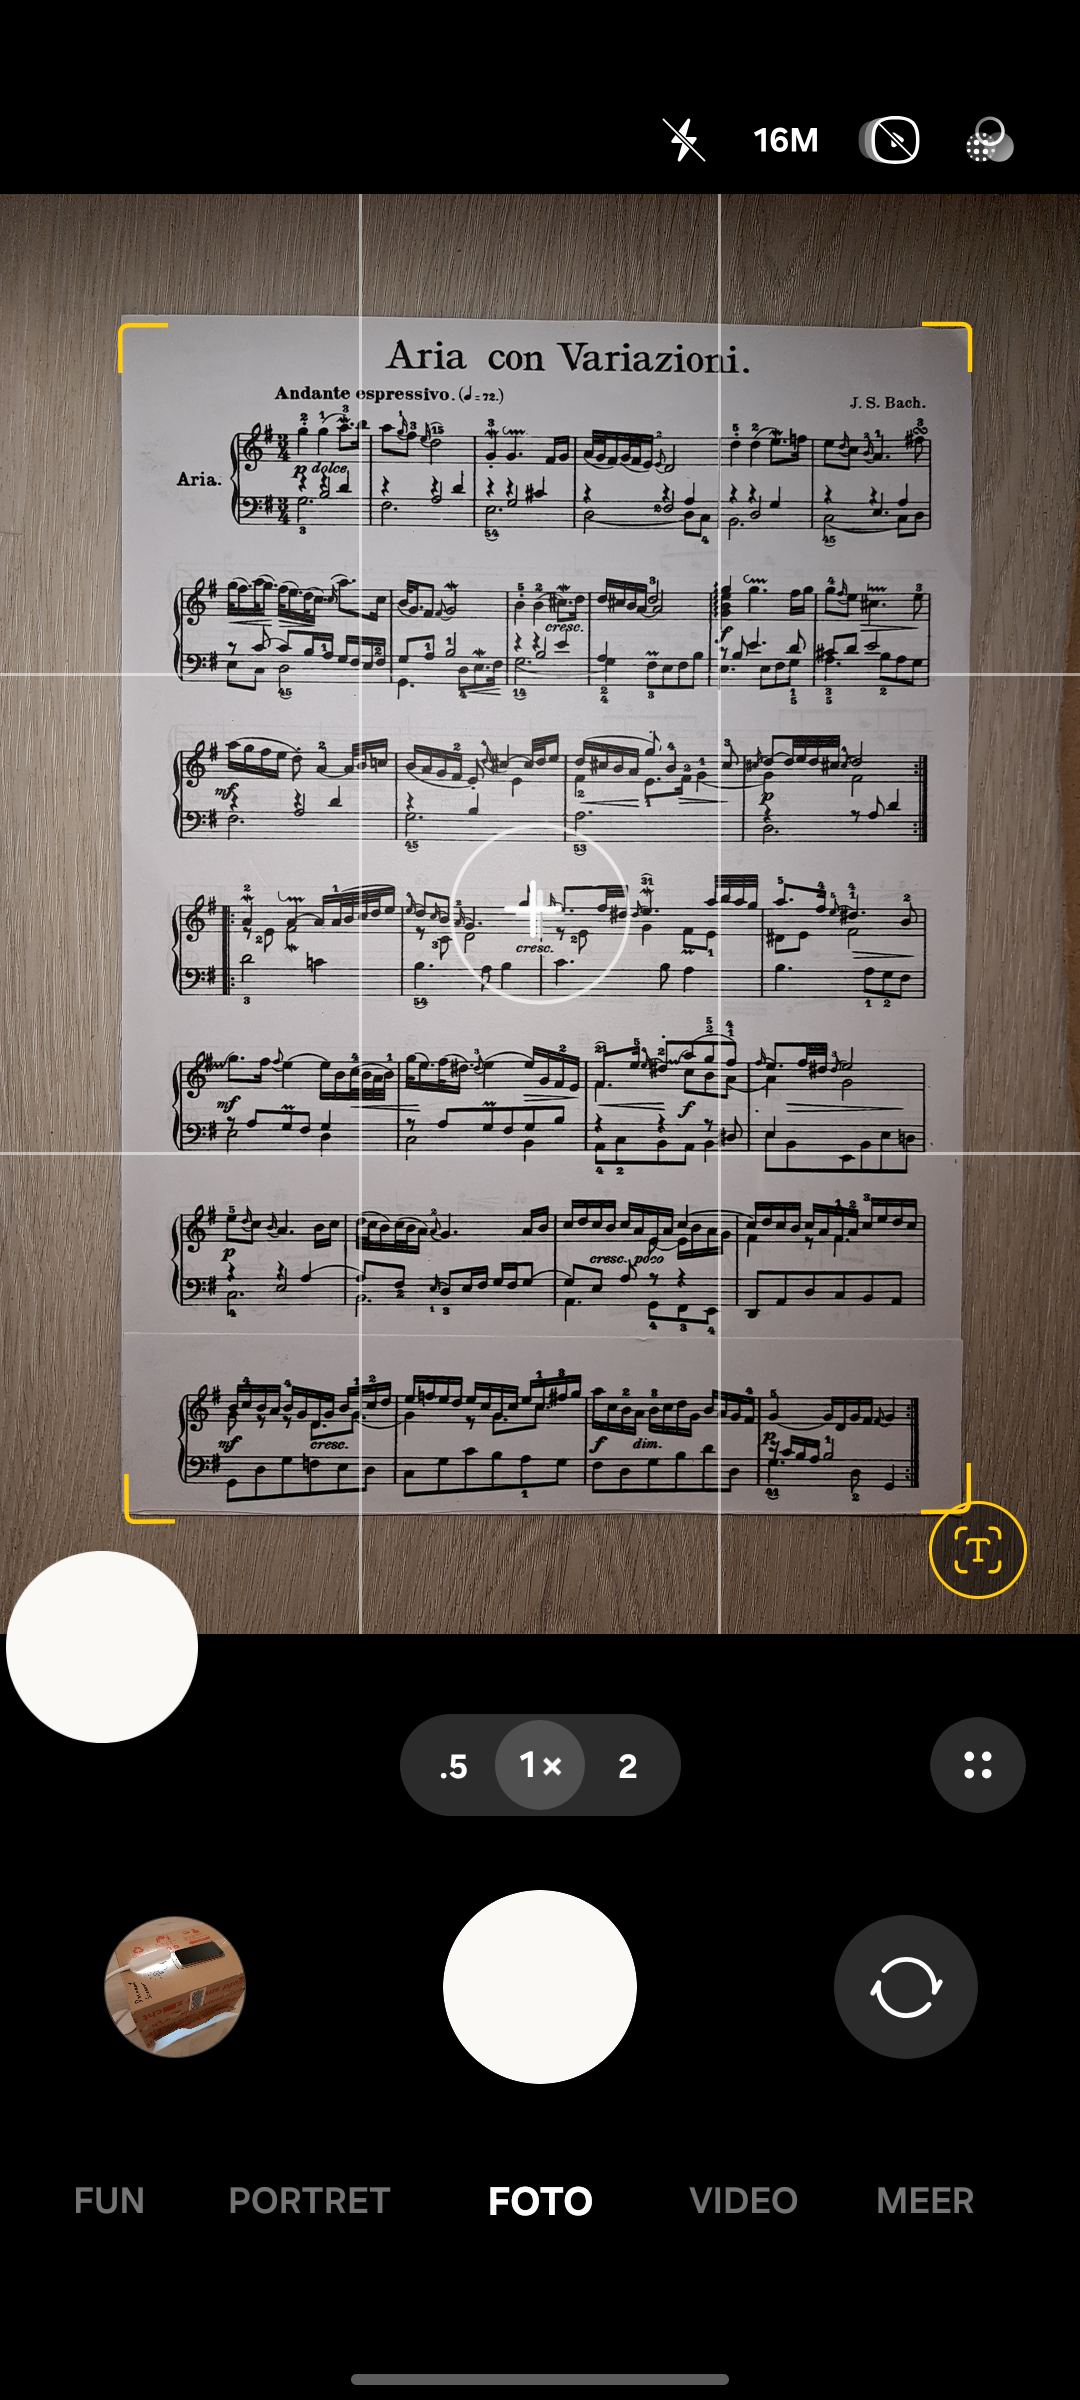
For now, this scanner box is good enough for receipts, notes, and short forms. Not perfect, but cheap and useful.